Estimated reading time: 4 minutes
Installation
Avoid using brew for this, as it doesn’t install the MacVim.app application in the /Applications folder as expected. This has already generated a lot of discussion on the https://github.com/Homebrew/homebrew-core/issues/20707 forum. So, prefer to download directly from the developer and be happy =) .
Download it quickly here to start your journey: https://macvim-dev.github.io/macvim/
After downloading and placing it in your MacOS Applications folder, create a symbolic link to call the MacVim app from the terminal:
sudo ln -s /Applications/MacVim.app/Contents/bin/mvim /usr/local/bin/mvim
CLI
Obviously, if you’ve come here, you also like to use vim in your shell. We’re going to use the VIM cli which is in the MacVim.app package and is already super up-to-date.
Just add this alias to ~/.profile and you’re all set!
alias vim='mvim -v'
GUI
There is a way to make MacVIM.app, VIM’s GUI, your shell’s default editor. Personally, I prefer the CLI version to be the default =) But if you want the editor of external applications to always be the GUI, you can put this line in ~/.profile:
export EDITOR='mvim -f'
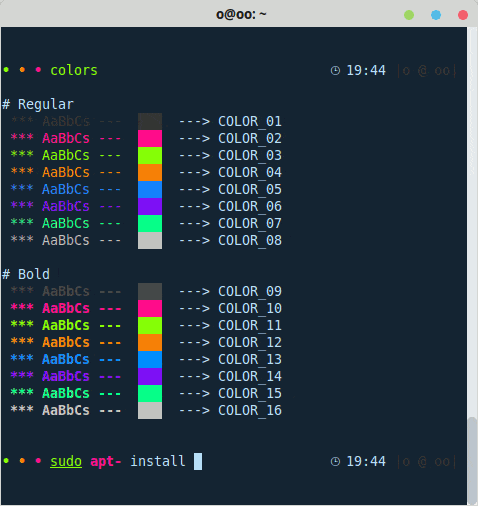
Theme
I particularly like the Molokai theme. But I suggest you find your favorite theme here: https://vimcolorschemes.com
To continue with molokai anyway, let’s move on. Open the terminal and type:
# Baixa molokai.vim direto do repositório
wget https://raw.githubusercontent.com/tomasr/molokai/master/colors/molokai.vim ~/.vim/colors
I’ll leave you with another popular option, monokai!
wget https://raw.githubusercontent.com/sickill/vim-monokai/master/colors/monokai.vim ~/.vim/colors
Edit ~/.vimrc and insert the lines below. Uncomment (“) the theme you want to use:
" ativa marcação de sintaxes
syntax enable

" ativa tema
colorscheme molokai
"colorscheme monokai
Tabulation
If you don’t like replacing the tab in your text with spaces, edit ~/.vimrc and change the
set expandtab
by
set noexpandtab
NerdTree with Vim Plug
First, download VimPlug:
curl -fLo ~/.vim/autoload/plug.vim --create-dirs \
https://raw.githubusercontent.com/junegunn/vim-plug/master/plug.vim
Then install the NerdTree plugin and devicons just by inserting it at the end of ~/.vimrc
    call plug#begin()
      Plug 'preservim/nerdtree'
      Plug 'ryanoasis/vim-devicons'
    call plug#end()
Install some nerd-fonts easily with brew. Check out other cool options here.
brew tap homebrew/cask-fonts
brew install --cask font-hack-nerd-font
brew install --cask font-fira-code-nerd-font
brew install --cask font-3270-nerd-font
brew install --cask font-jetbrains-nerd-font
To make the font work correctly in both cli and gui, insert 2 more lines in your .vimrc. The first one forces the use of UTF-8
    set encoding=UTF-8
    set guifont=Hack\ Nerd\ Font\ Mono:h12
Status tab with vim-airline
vim isn’t complete without the killer vim-airline status bar! Just add the plug.
Plug 'vim-airline/vim-airline'
Remember that every time you install a plugin with VimPlug, open vim and install it with the command :PlugInstall
Git
To integrate with git, it’s very simple. Use vim-fugitive (https://github.com/tpope/vim-fugitive)
You can install it as described in the manual…
mkdir -p ~/.vim/pack/tpope/start
cd ~/.vim/pack/tpope/start
git clone https://tpope.io/vim/fugitive.git
vim -u NONE -c "helptags fugitive/doc" -c q
… but I prefer to install with Plug =D
Plug 'tpope/vim-fugitive'
Final result
See my complete .vimrc:
" Forçar UTF-* para usar Nerd Font
set encoding=UTF-8

" Nerd Font é necessária para utilizar o vim-devicons no NerdTree
set guifont=Hack\ Nerd\ Font\ Mono:h15

" Exibe a régua inferior
set ruler

" Cria um highlight sobre a busca
set hlsearch

" Incrementa a busca conforme a digitação.
" Funciona muito bem com hlsearch
set incsearch

" Exibe a régua lateral
set number

" Ignora Mm nas buscas
set ignorecase

" Tabs já existentes passam a ter 4 espaçamentos
set tabstop=4

" When indenting with '>', use 4 spaces width
set shiftwidth=4

" Ao pressionar tab, insere tab no tamanho de 4 espaços.
" Se desejar que apenas espaços sejam inseridos, e não o
" tab, utilize então o comando set expandtab.
set expandtab

" Mostra o par de [] {} e ()
set showmatch

" Dicionário pt-br
"set spell spelllang=pt_br

" Marca a sintaxe
syntax enable

" Ativa o tema
colorscheme molokai
"colorscheme monokai

call plug#begin()
    Plug 'preservim/nerdtree'
    Plug 'Xuyuanp/nerdtree-git-plugin'
    Plug 'ryanoasis/vim-devicons'
    Plug 'vim-airline/vim-airline'
    Plug 'vim-airline/vim-airline-themes'
    Plug 'tpope/vim-fugitive'
call plug#end()

" Configurações do Vim-Airline
" Smarter tabline
let g:airline#extensions#tabline#enabled = 1
" Ativa powerfonts para desenhar corretamente a tabline
let g:airline_powerline_fonts = 1
That’s all!
See also
- VIM and VIM Script course
- How to enable Extended REGEX in VIM
- Brazilian VIM community channel on Telegram